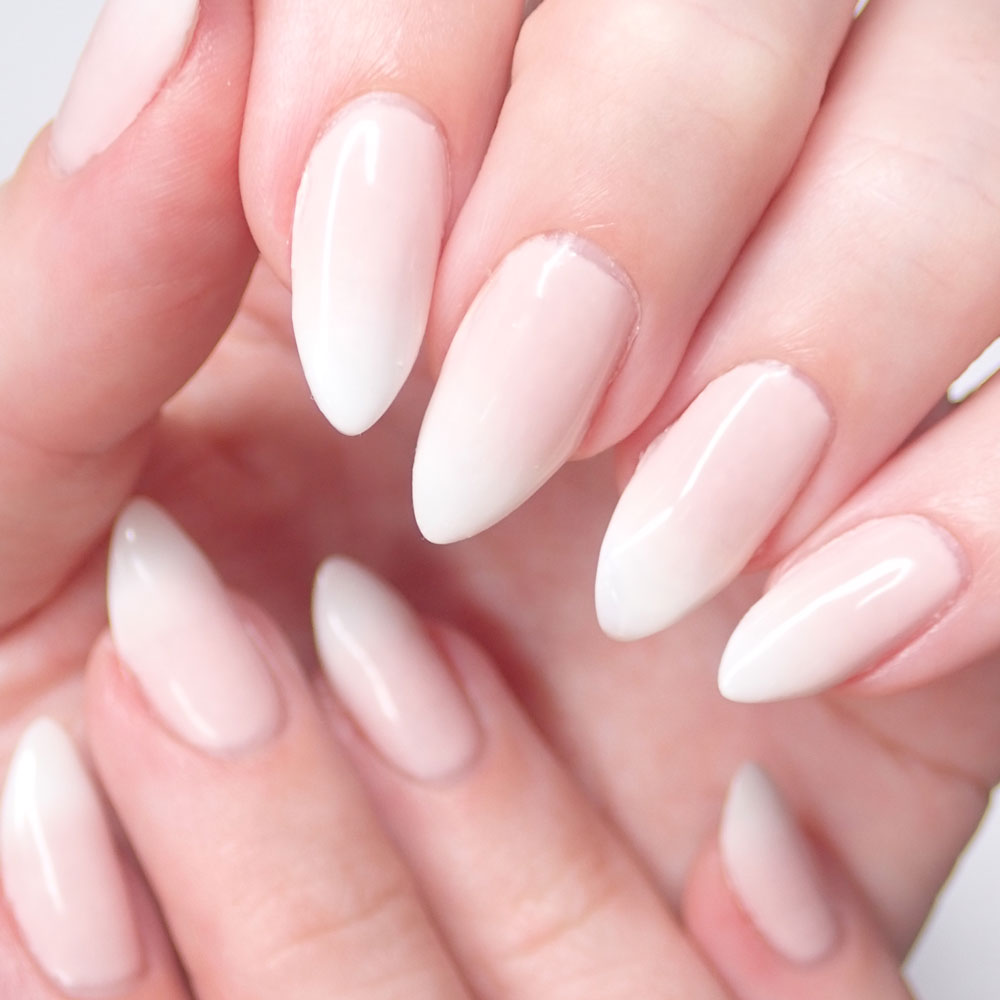
How To Do Babyboomer Nails
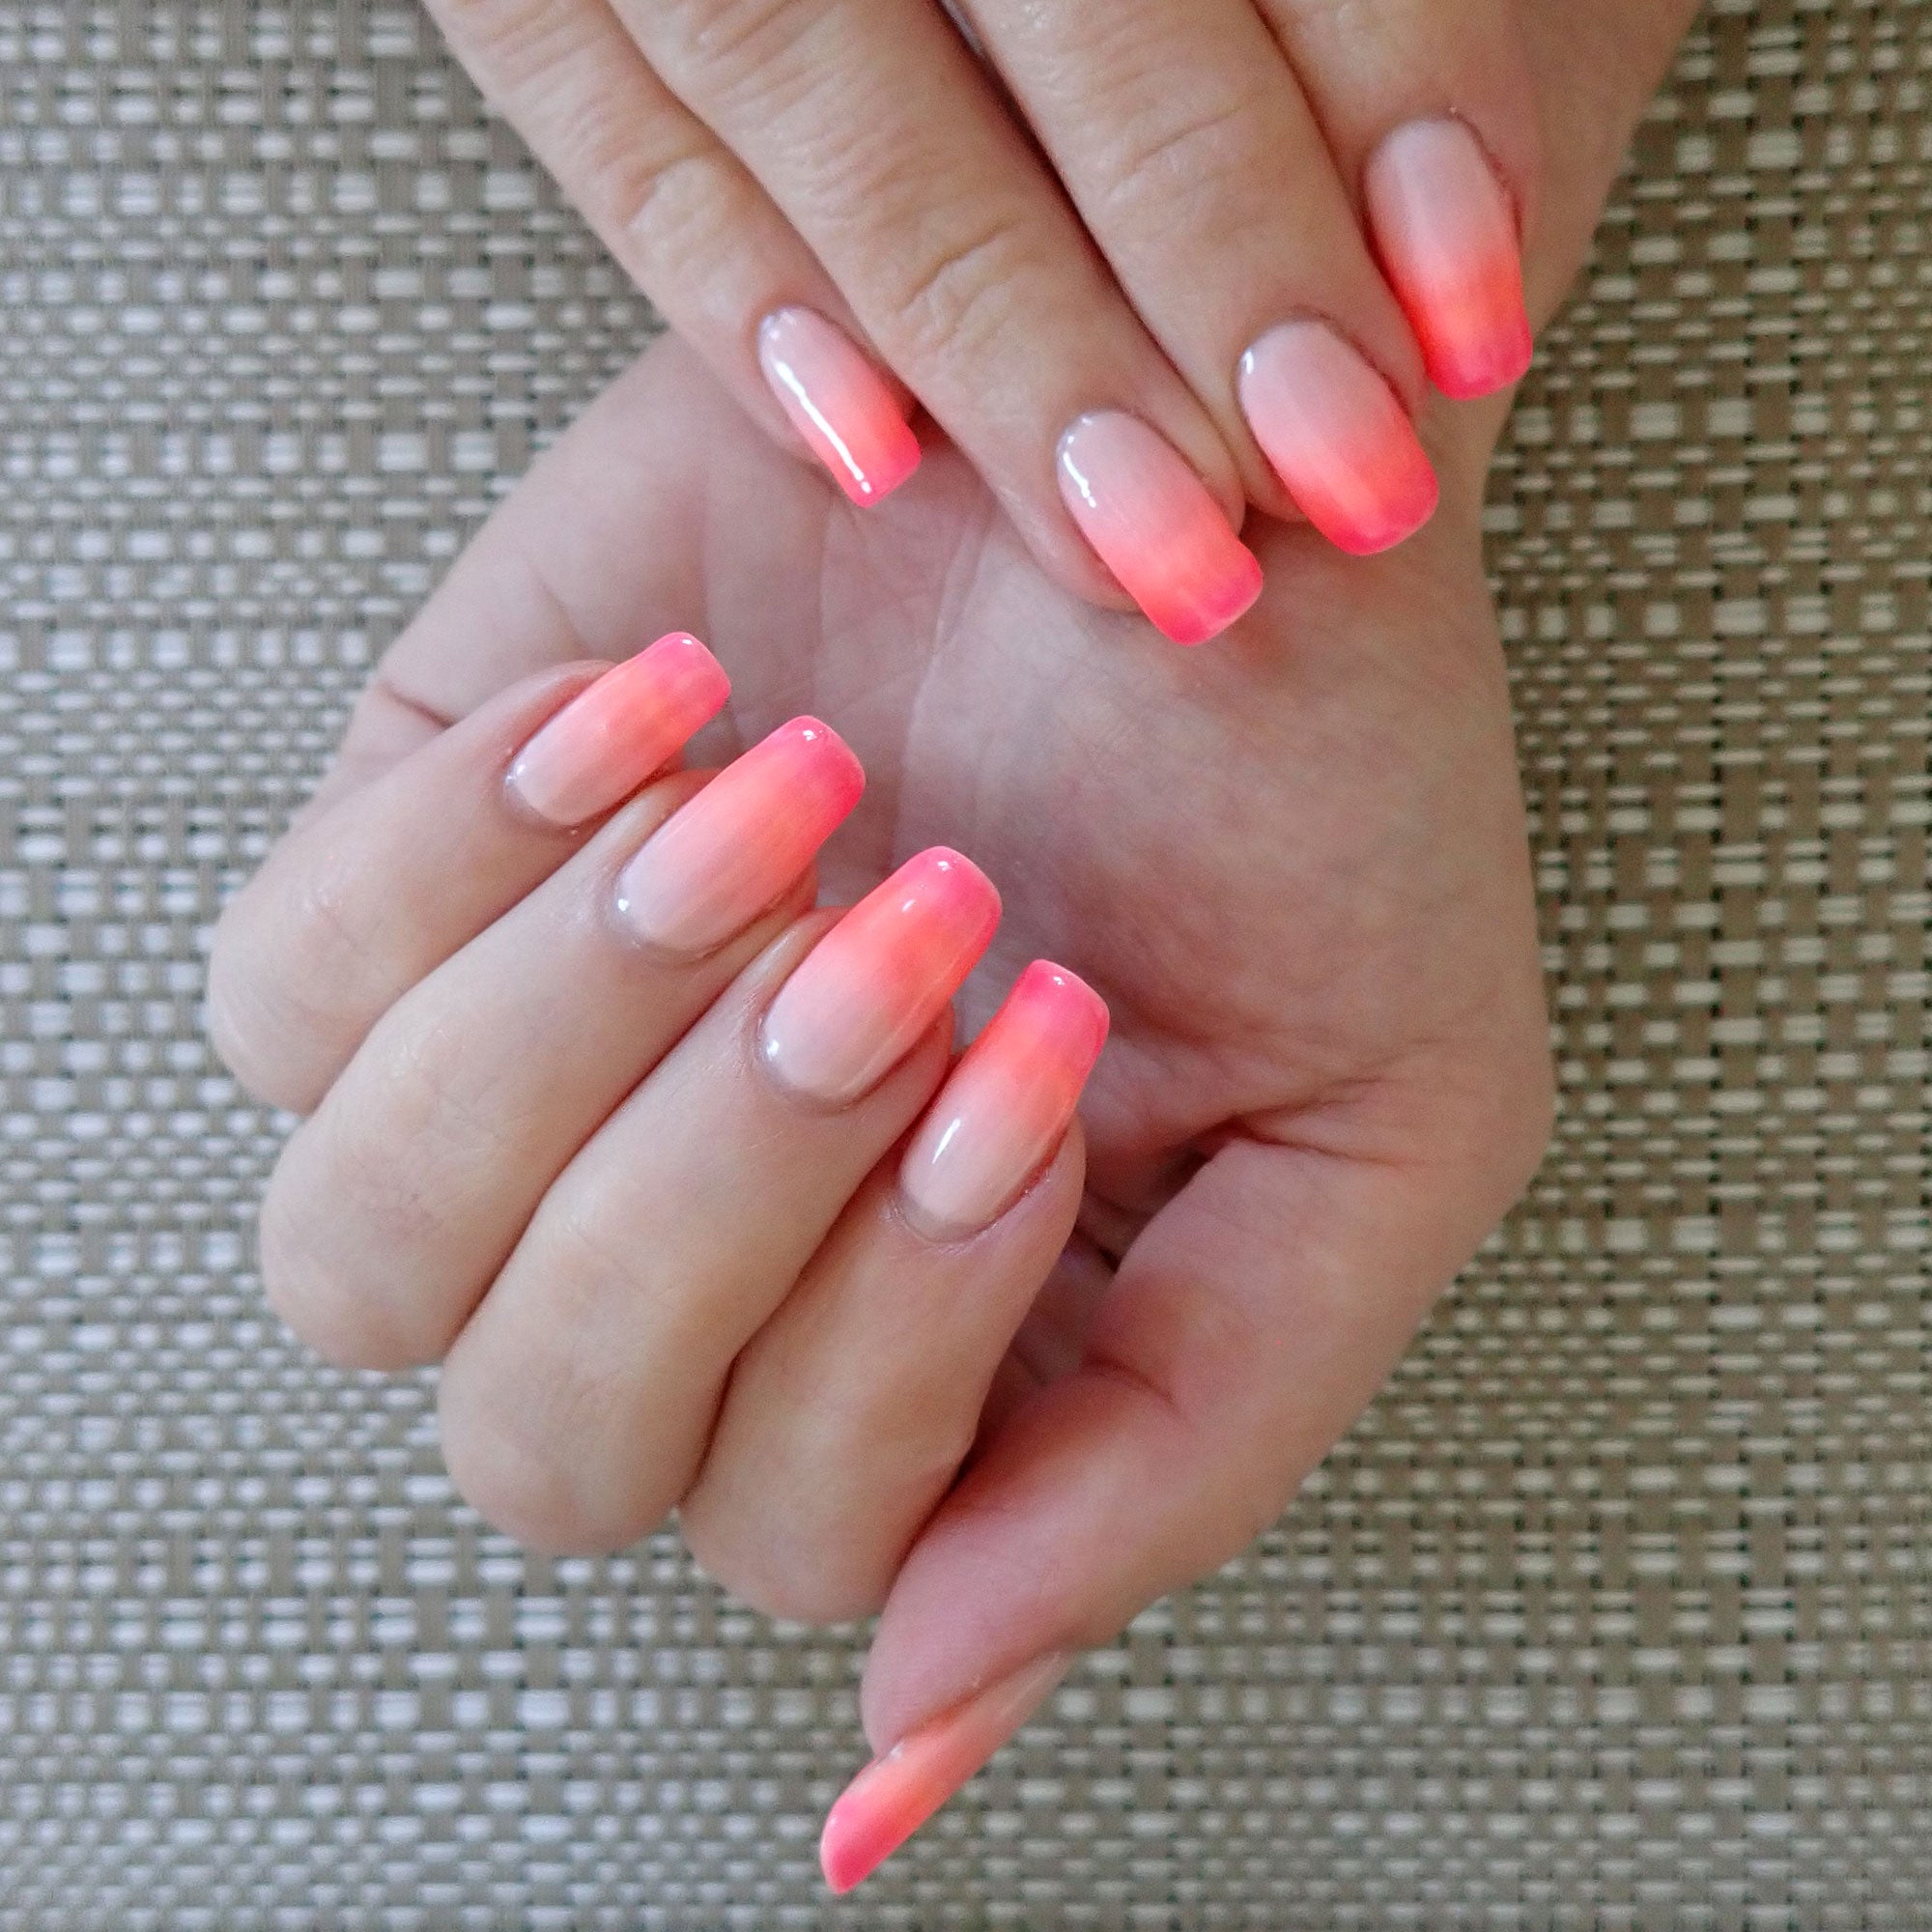
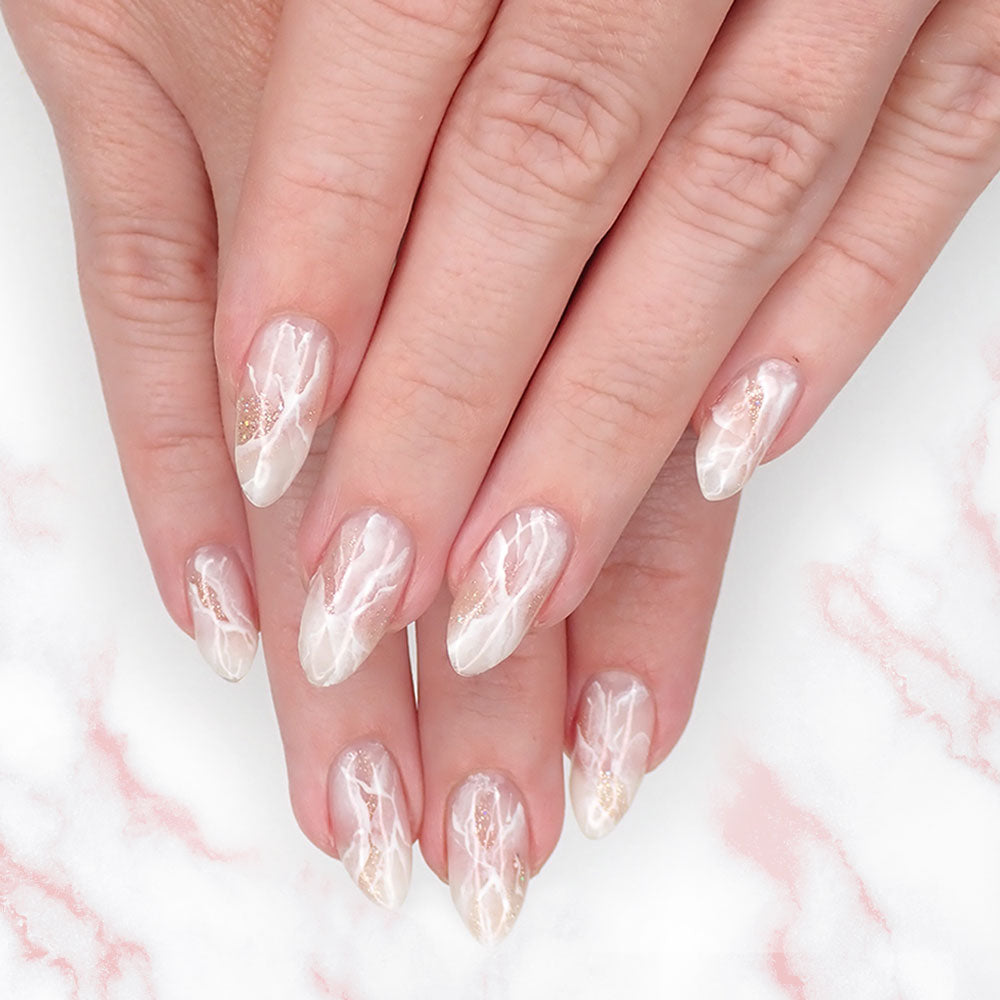
A classic nail art with a stylish and elegant look for everyday nails. Perfect when you don't have any ideas to dress up your nails!
There are various ways of doing marble nails, even with gel polish. And after researching and trialing, I finally get the result I wanted! And guess what? It's actually super easy – your wrong hand won't even feel it ;)
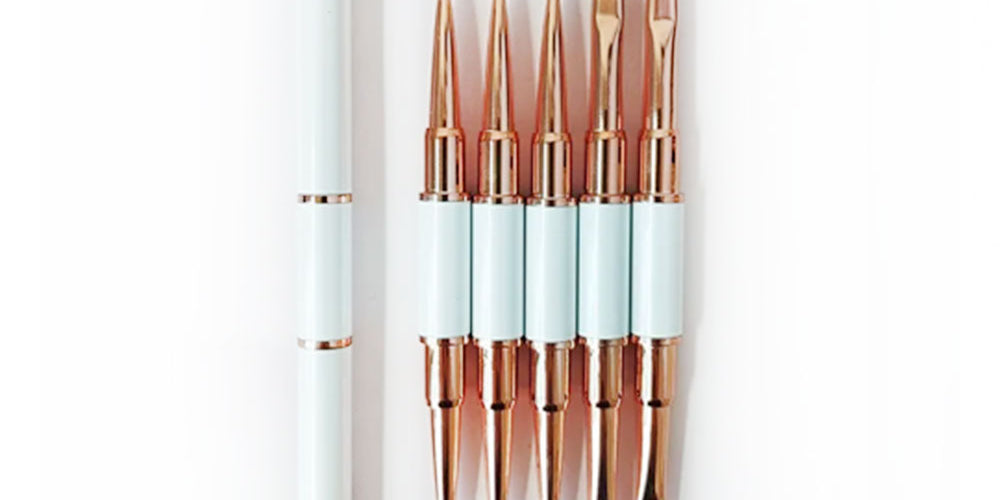
For this nail art, I used the beautiful Beauty Milk gel nail polish for the delicate milk nail colour, A River of Sparkles gel nail polish for the gorgeous gold glitter, No Wipe White Gel Paint and the 8mm Pink Nail Art Liner Brush to design the marble cracks, as well as the Round brush from the Smart 5 Double-Ended Nail Art Brush Set to create the faded stone marble effect.
This marble nail design is actually very stylish and elegant. Discrete and sophisticated, it goes with everything and every mood. It's also quite quick to do because it doesn't require great dexterity – I am personally thrilled by the result!
If you want to know how I did it, have a look at the video tutorial below and follow the step-by-steps guide!
0 comments