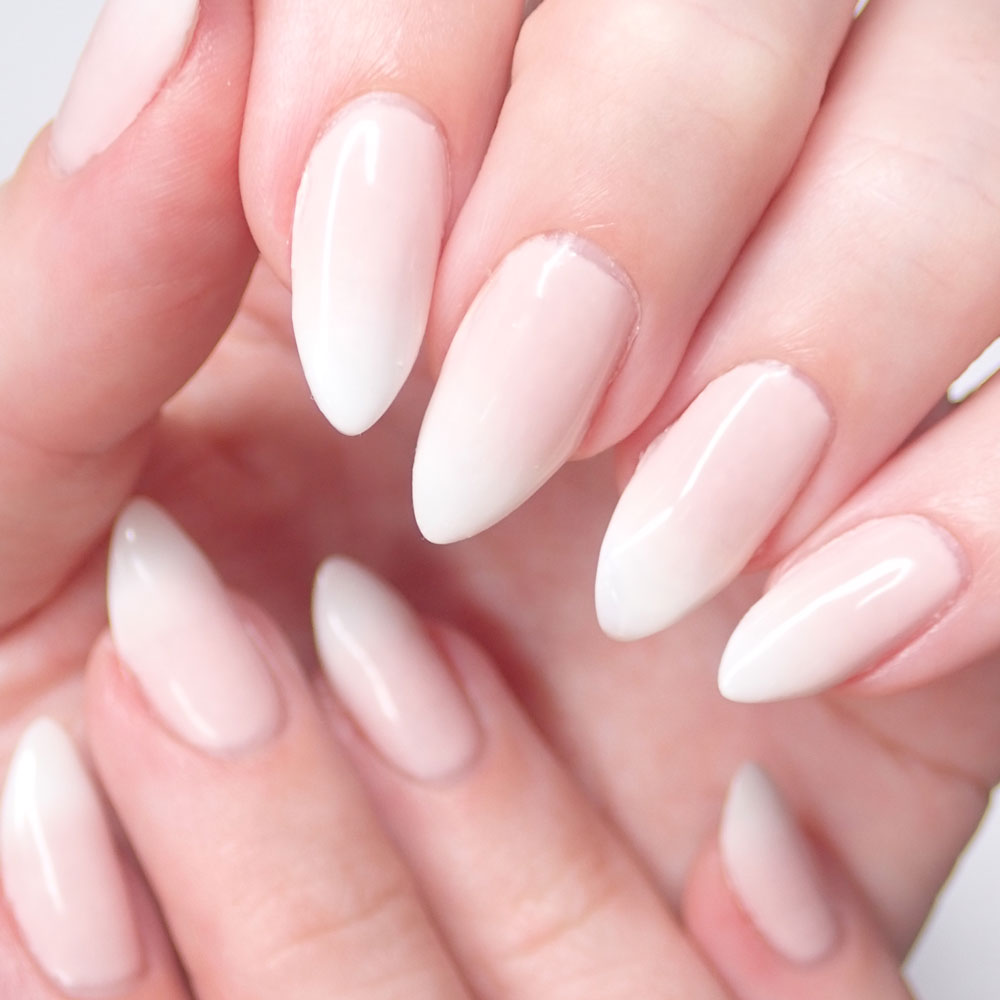
How To Do Babyboomer Nails
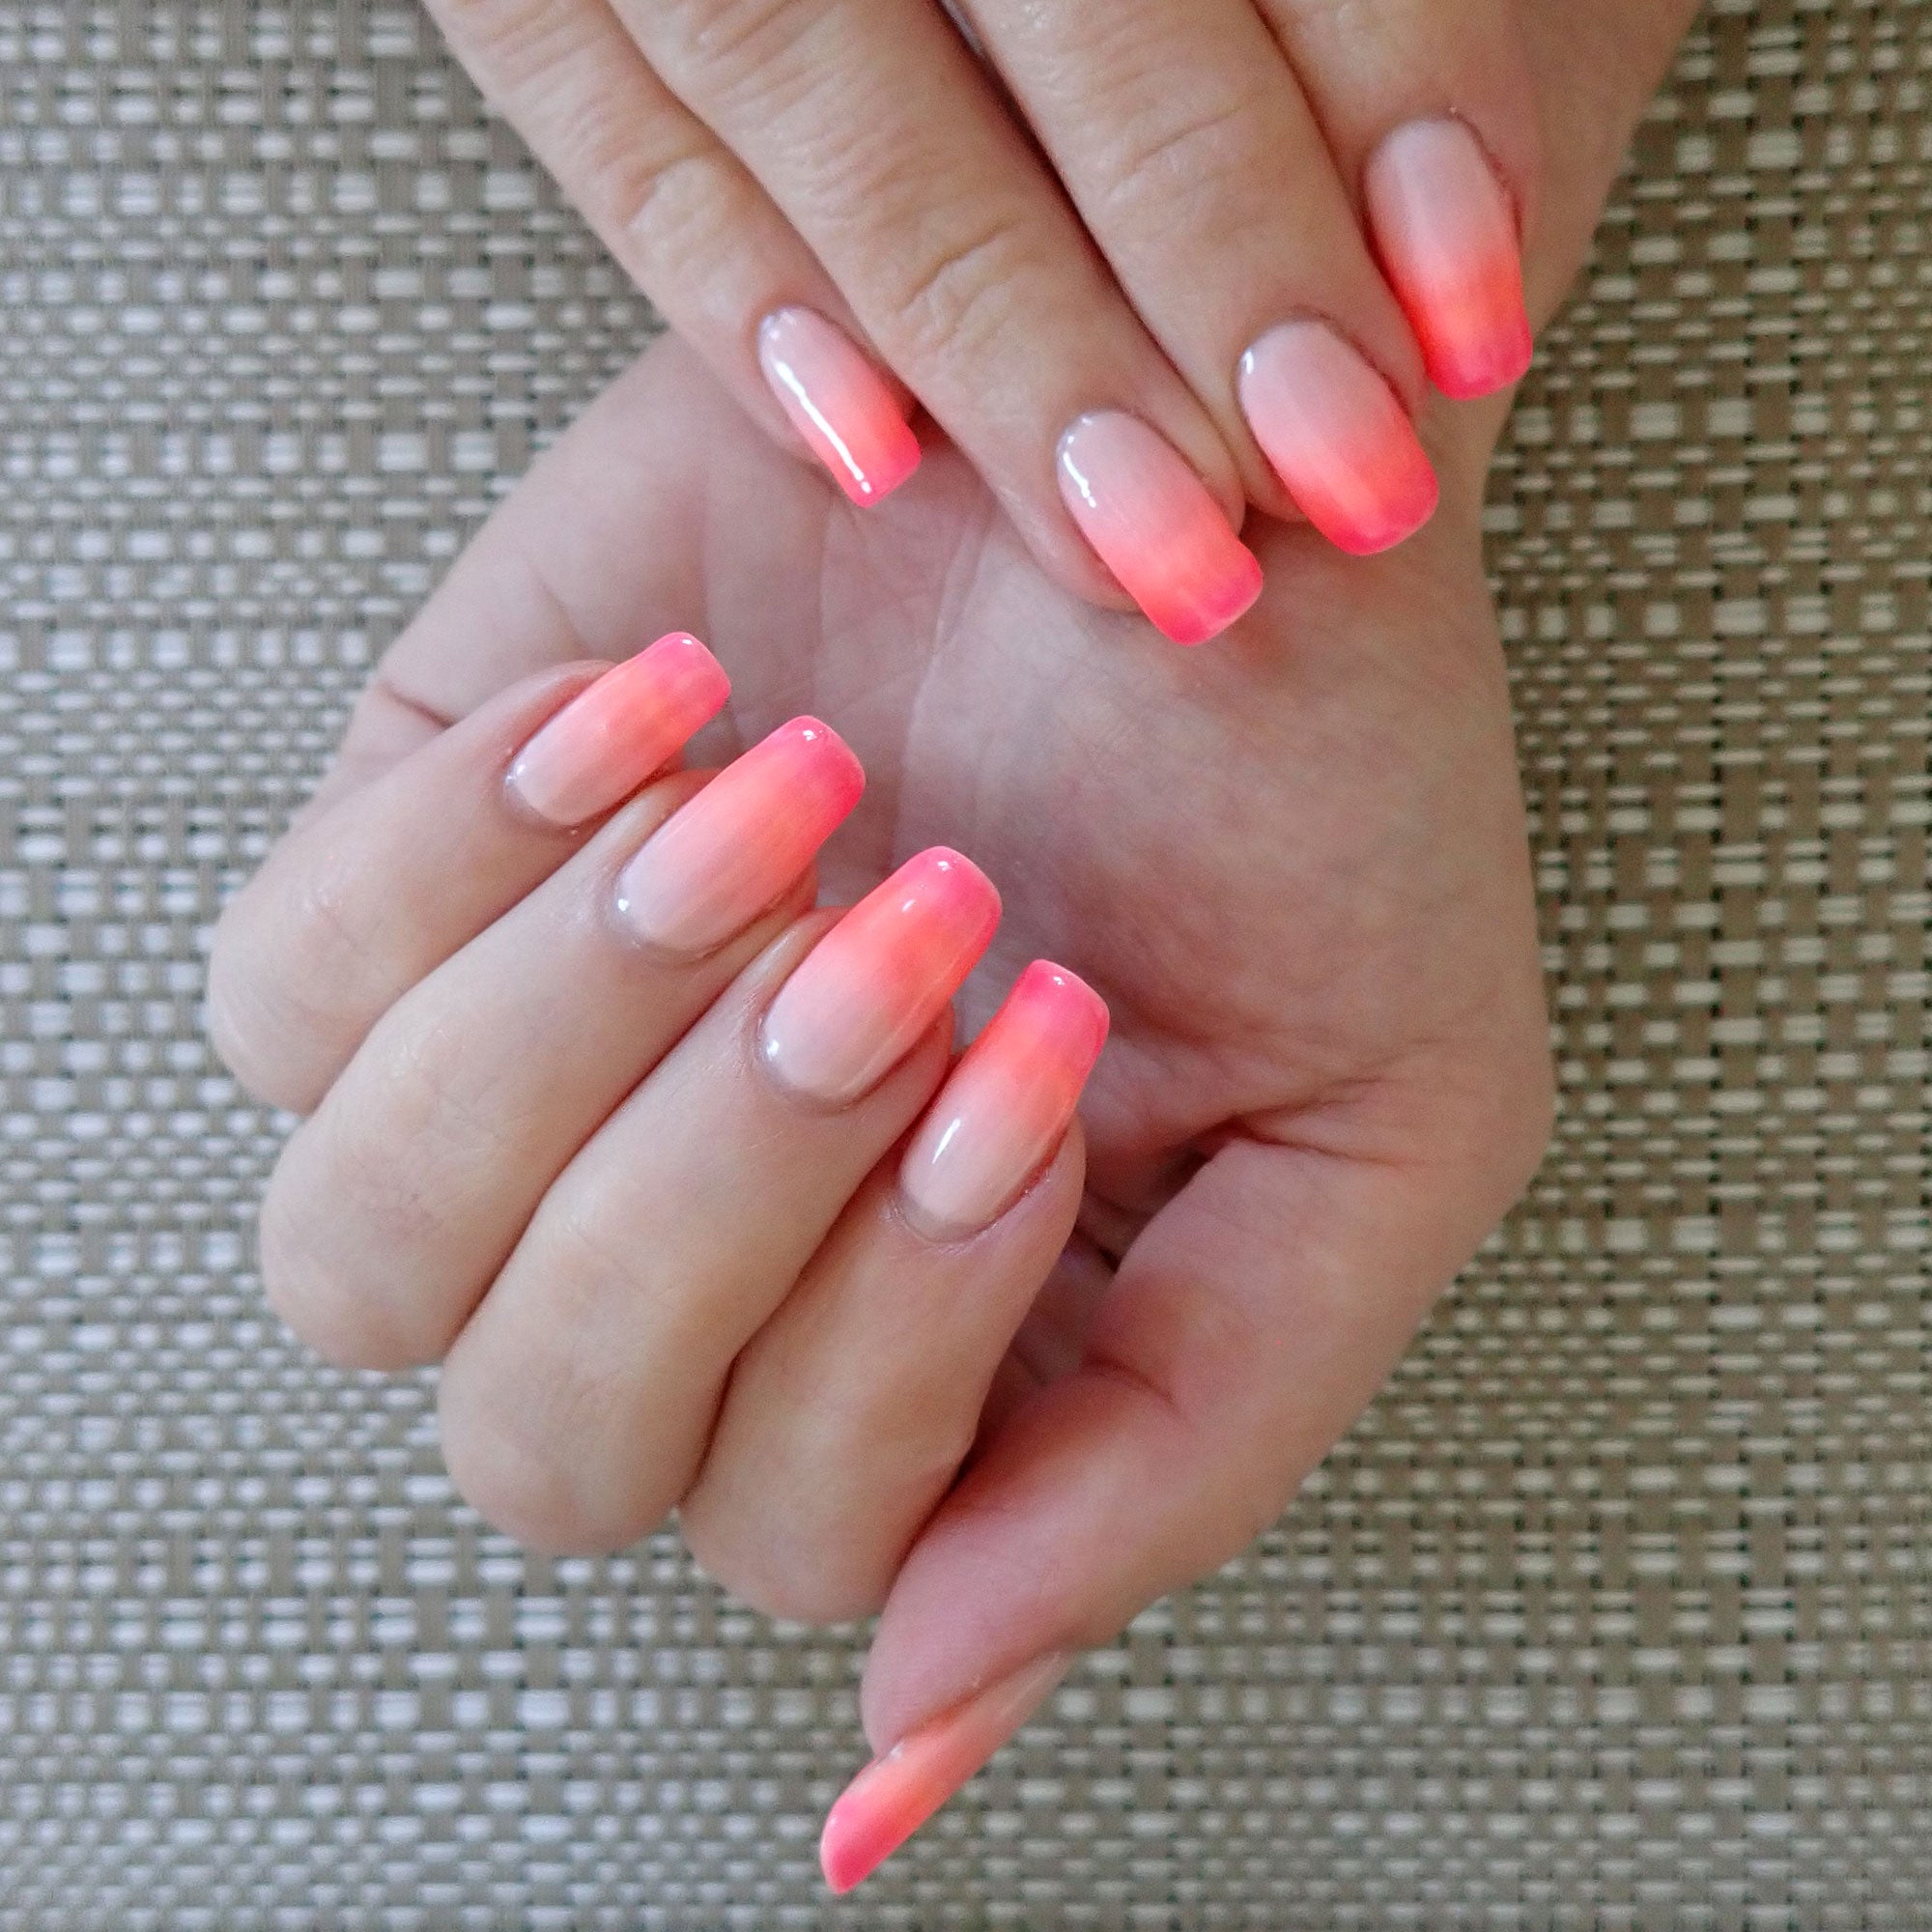
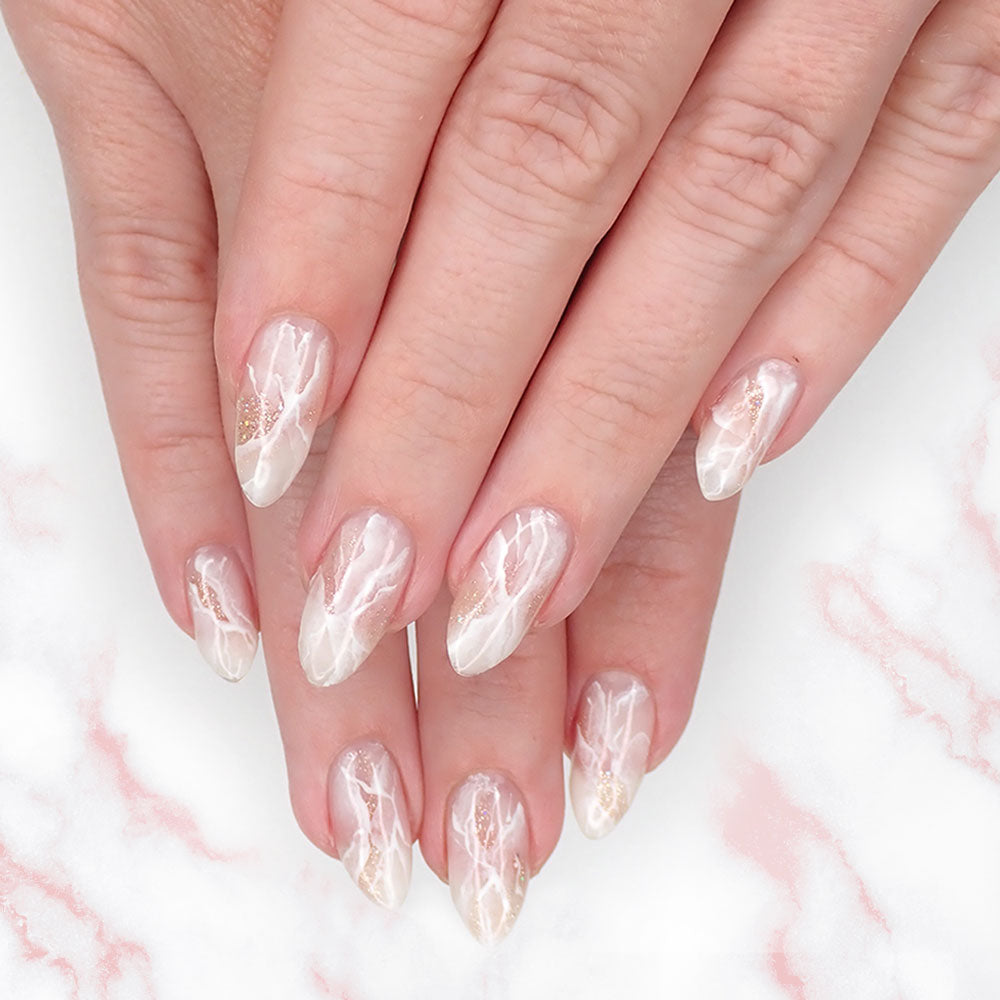
A classic nail art with a stylish and elegant look for everyday nails. Perfect when you don't have any ideas to dress up your nails!
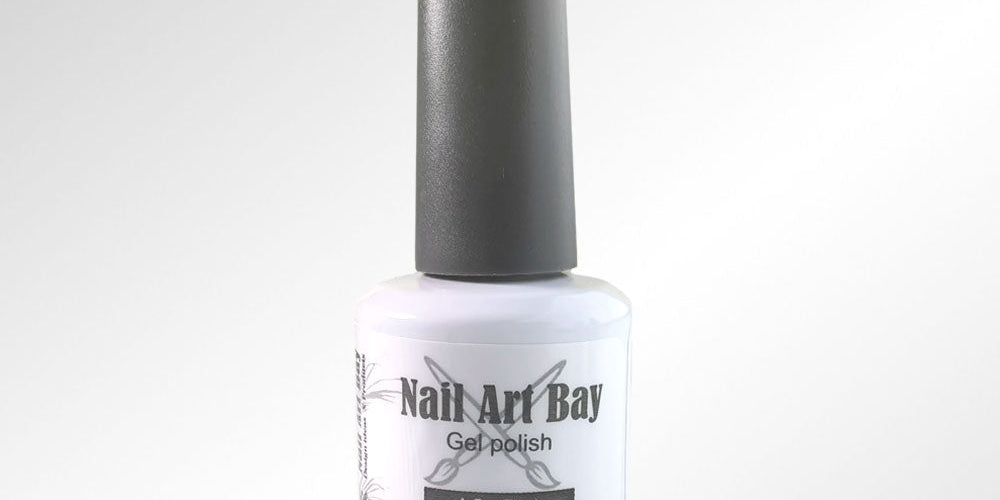
Gel is thicker than nail polish, which makes it much easier to apply.
Everyone told me that painting your nails with gel is difficult. Well, I discovered that it is actually much easier than with nail polish and for one main reason: the texture is thicker, therefore easier to apply.
How to apply and remove gel polish?
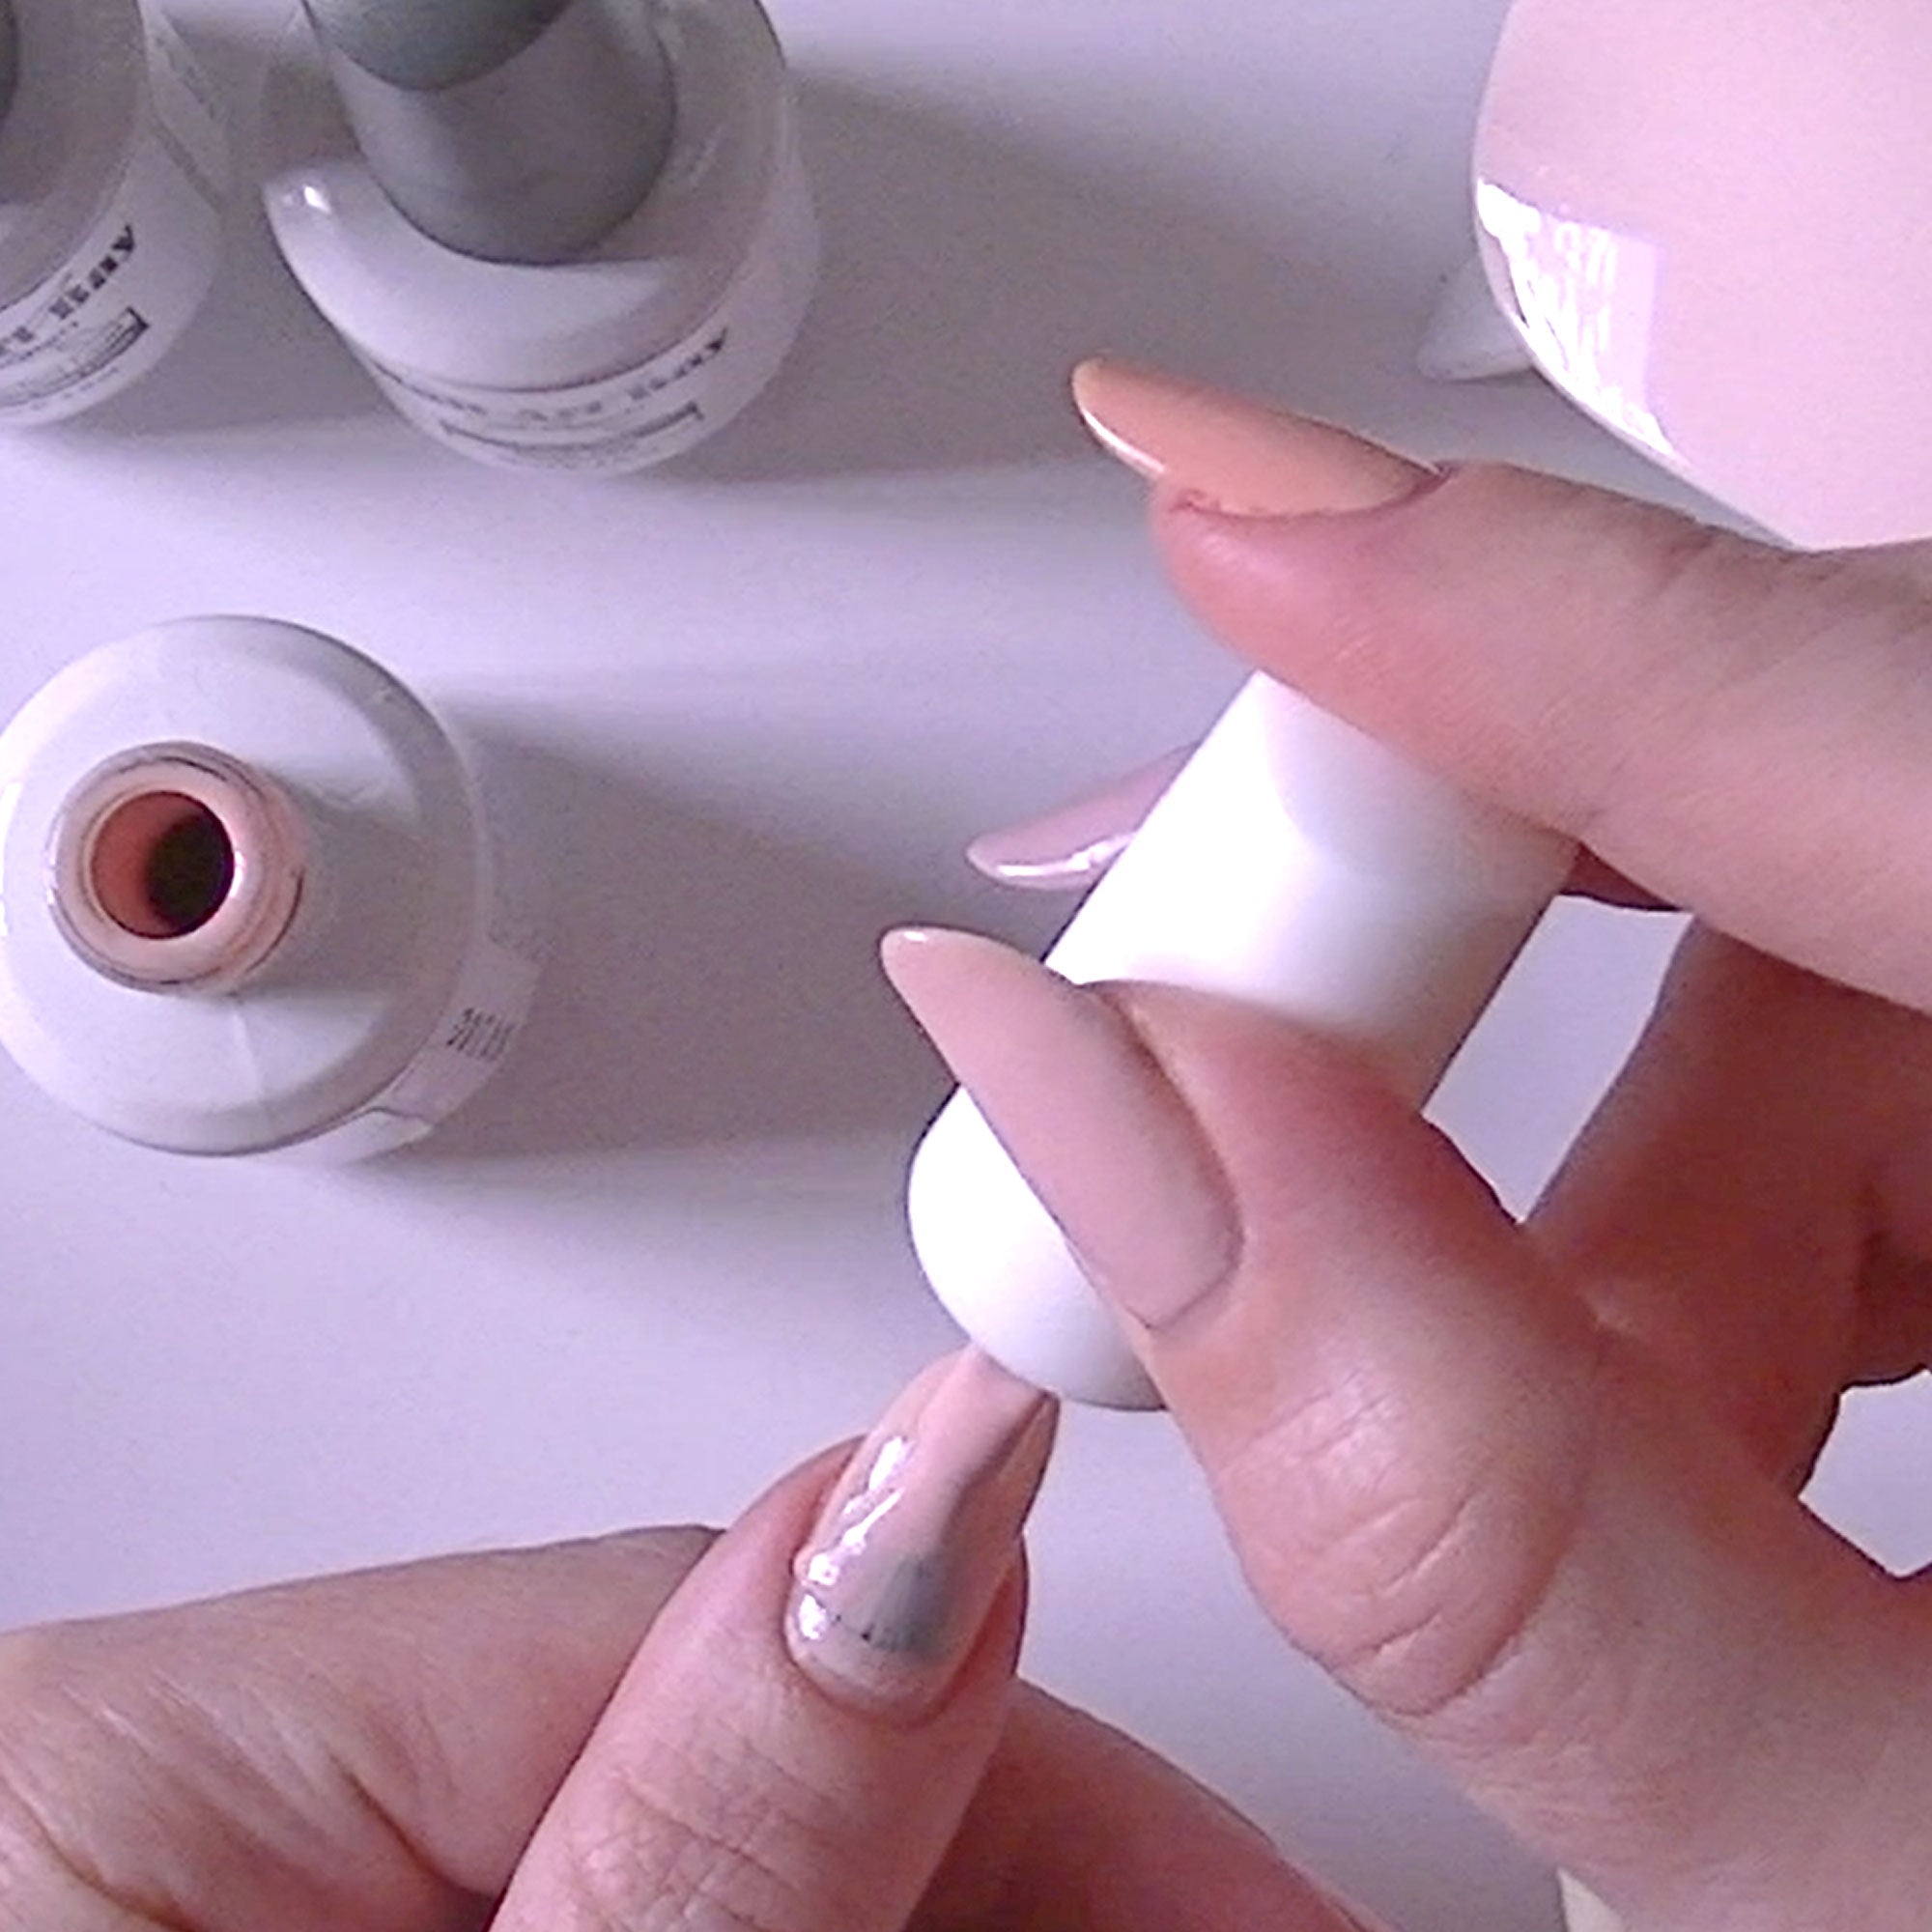
Gel polish must be cured with a LED or UV lamp, unlike nail polish it does not dry with air. To apply gel polish properly, it is required to follow these steps:
1. Gel Base + curing
2. Gel Colour + curing (repeat step twice for 2 coats of colour)
3. Top Coat + curing
Always read the instructions provided with your lamp before using. Your nails must be completely dry after the manicure is finished.
To remove gel polish, first buff the surface of your nails, then apply a sufficient layer of the Genius Remover to cover the gel. Leave it for 3 minutes, then remove the cracked gel with a cuticle pusher. Reapply if necessary for another 3 minutes. That's it!
Curing times:
| STEP 1: the Gel Base | STEP 2: Gel Colour | STEP 3: the Top Coat |
|
I Go First Foundation LED lamp: 20 seconds
|
LED lamp: 20 seconds (30 seconds for dark colours) UV lamp: 1-2 minutes |
I Go First Foundation LED lamp: 20 seconds
|
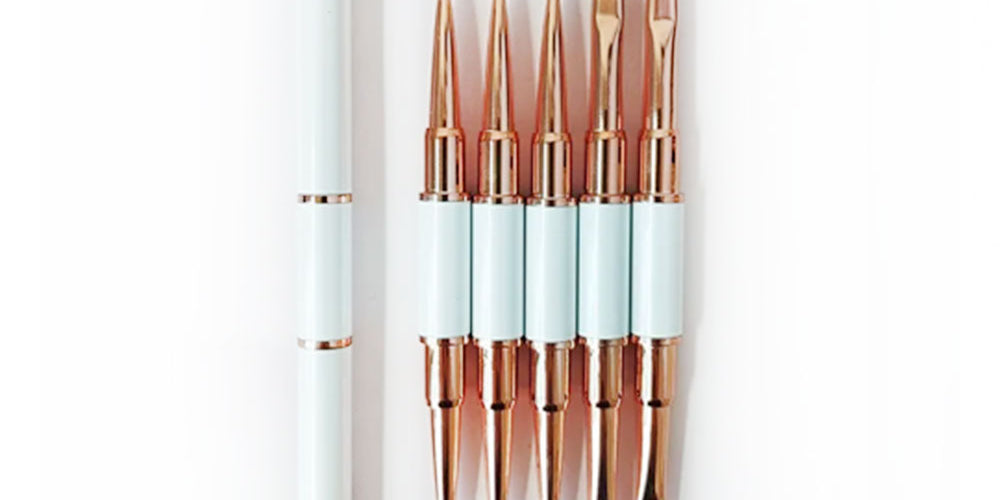
To do your own gel nails, you'll need:
Level of difficulty: easy even for beginners
Before starting:
1- Shape your nails and polish the surface with a soft file. Wash your hands to clean your nails. If necessary, gently push and trim the cuticles.
2- Prepare your workshop in a comfortable and safe place with good light. Set up your lamp, apply a protection on your table or desk (such as a magazine or paper towel), and place your gel polishes, brush, and basic kit within easy reach of your working area. Sit comfortably and tie your hair back if necessary.
Let us know if you have any questions!
0 comments